How I pack a carry-on (& get the most out of it!) — Part 2
Sometimes, you just want to take a quick weekend trip & not have to hassle with a checked bag. Sometimes a carry-on can be all you need!
For those who struggle with over-packing, this post is for you!
For me, the 5 keys to successfully packing a carry-on you can actually make outfits from are:
1) Maximizing the size of your carry-on and personal item (aka taking the biggest ones you can that fit the airline’s dimensions)
2) Packing your absolute essentials (personal hygiene items, makeup, etc) — TODAY’S POST
3) Packing versatile/neutral pieces that can be dressed up or down (denim, a little black dress, white sneakers, etc)
4) Letting jewelry highlight the outfit (doesn’t take up much space and can change the look of outfits)
5) Wearing your bulky layers vs packing them (especially if traveling to cold weather) -or- using compression bags
Ok, let’s break part 2 down in detail:
Part 2: Packing your absolute essentials

Packing your absolute essentials
These are your essential items that you need for a day (but in carry-on limit size (3.4oz or less)). Think things like your toothbrush, toothpaste, makeup, etc. — only what you really use in a day.
Try to pack only your absolute essentials because, by not bringing excess items, it leaves space for other things…Plus, many accommodations already have the bulky items there (like a hairdryer, shampoo, conditioner, etc.)— although it’s a good idea to check first.
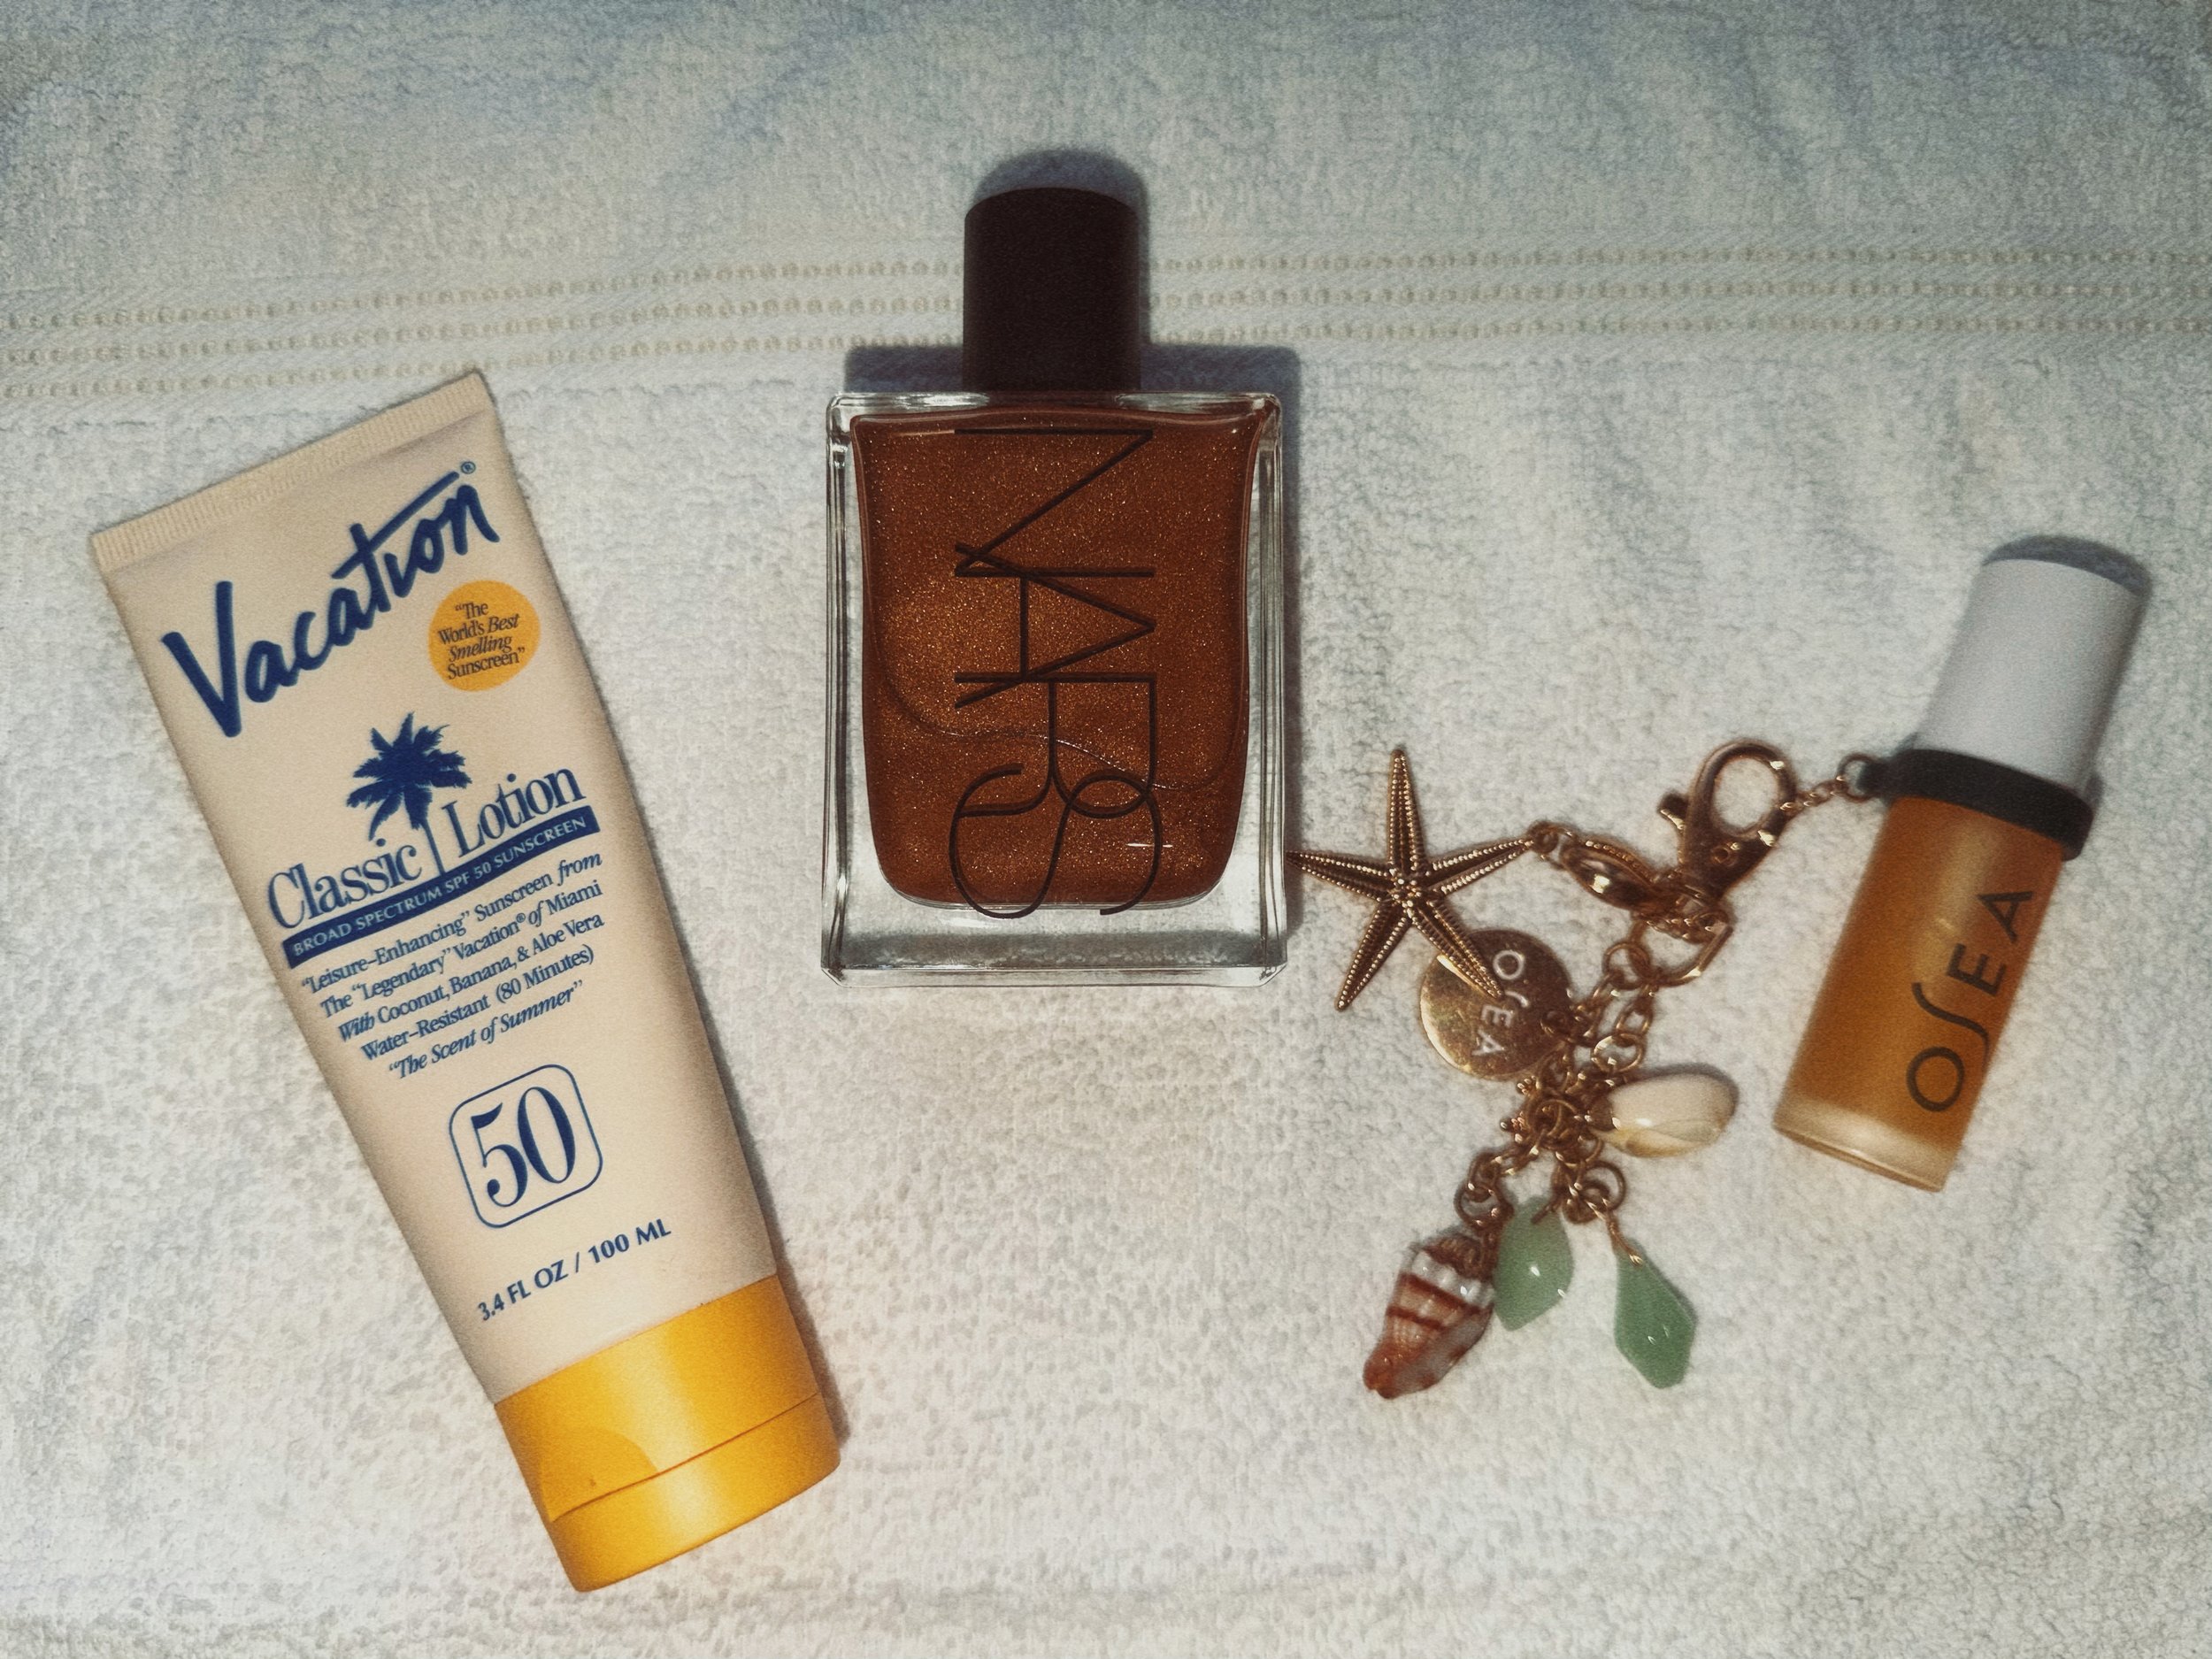
Once I’ve got my essentials, I’ll add in a few fun/special items for my trip. For example, for my most recent beach trip, I got these 3 beachy products I was excited to bring with me:
—Nars Cosmetics Monoï Body Glow (2.5 fl oz)
—Designed in Miami Vacation brand Classic Lotion SPF 50 Sunscreen (3.4 oz)
—Osea Malibu lip oil with holder keychain with beachy charms.
Remember that you can also go shopping for items at your destination or at the airport — and that’s a fun way to check out some local shops.
But, getting back to essentials, the way I pack my essentials without forgetting to bring anything is:
The day before travel, I set aside all the products that I use throughout the day — for example, after I brush my teeth, I’ll lay my toothbrush and toothpaste out on my desk and I’ll add to the desk when I use other items (like my hairbrush, extra socks, etc). Then, the morning of travel, I can go right to my desk, grab what I need, and then quickly pack it away in my luggage for my upcoming flight.
It makes things so much easier than guessing what to grab the morning of travel and accidentally leaving something behind (I did this with my toothbrush once and had to use the free one the hotel gives, and let’s just say I will never forget my toothbrush again, lol!).
It also helps to have a checklist, especially if you are a frequent traveler — it can make packing super easy….Plus, it helps ensure you don’t forget to bring anything back.
Other essentials I obviously bring are my phone, charger, travel charger (like this slim magnetic one), and I also like to bring my iPad in case I lose my phone because I can find my phone on the FindMy app, and I still have access to messaging/email/wifi.
I tend to like a MagSafe charger vs a plug-in-port charger because if my phone gets wet, it can still charge with the MagSafe charger whereas the plug-in-port charger will not allow a charge until the phone is dry — not ideal if your phone is on low battery and you have somewhere to go — this is also where a travel charger (like this slim magnetic one) comes in handy!
I also like a good pair of sunglasses, a bikini, a book (especially for the plane, beach, park, or relaxing), and noise cancelling earbuds.
If you’re traveling to an accommodation without a gym, this is a good opportunity to get outside and/or buy gym day passes to try out different gyms and exercise classes (direct or through places like ClassPass). Plus, you might make friends there, too!
If home workouts are your thing, a good option is to pack travel-friendly resistance bands, an inflatable ball, and use towels as a mat.
And, of course, remember your ID card / passport!
Note: this post is part of a 7-series of posts on “How to pack a carry-on (& get the most out of it!)”: (intro, parts 1-5, and conclusion)
Disclaimer:
Some of the links included in this blog are for products, services, or external content created and maintained by third parties. I am not affiliated with, sponsored by, or in partnership with the creators, brands, or companies behind these items unless explicitly stated.
I do not manufacture, sell, or control the quality, availability, or performance of any products mentioned (such as travel accessories, organizers, or packing tools), and I am not responsible for any issues, damages, or dissatisfaction that may arise from their use.
Additionally, any links to external content—such as YouTube videos or tutorials—are provided for informational and inspirational purposes only. I do not own, control, or take responsibility for the accuracy, safety, or practices demonstrated in that content.
Please use your own judgment and discretion when purchasing products or following advice from third-party sources.